Wax Sculpture Progress
This project’s main focus is the progression. It is not about the end result but the process and how we created the molds.
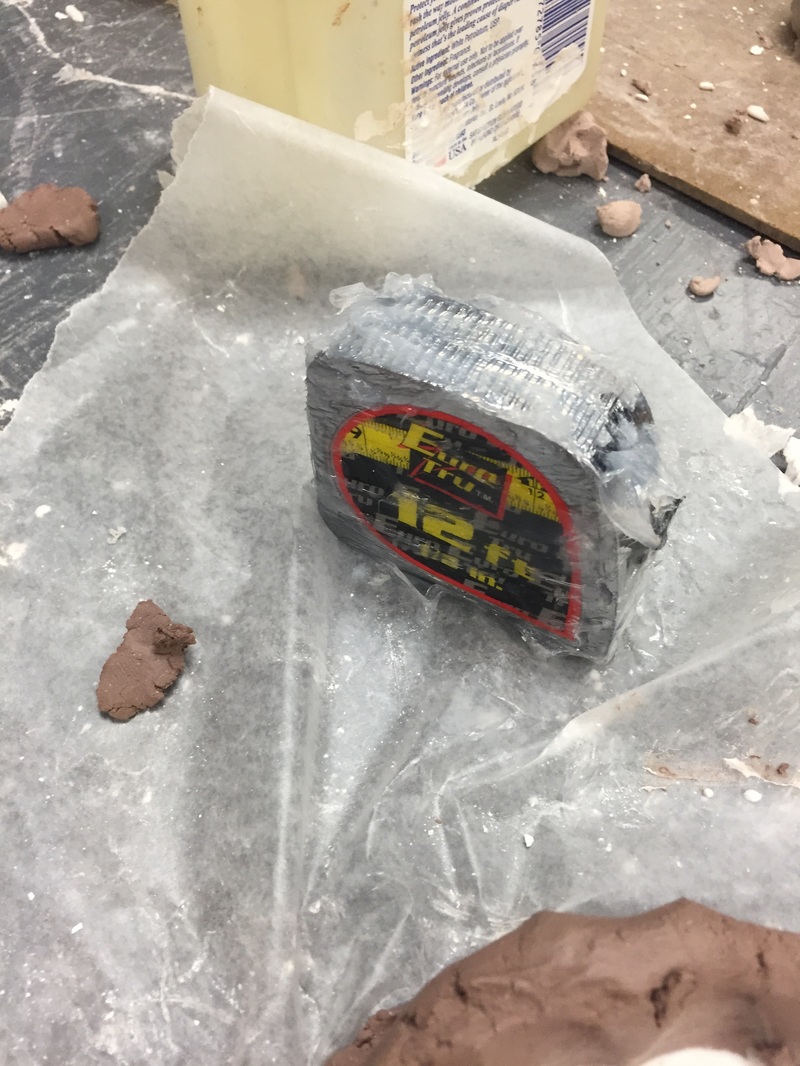
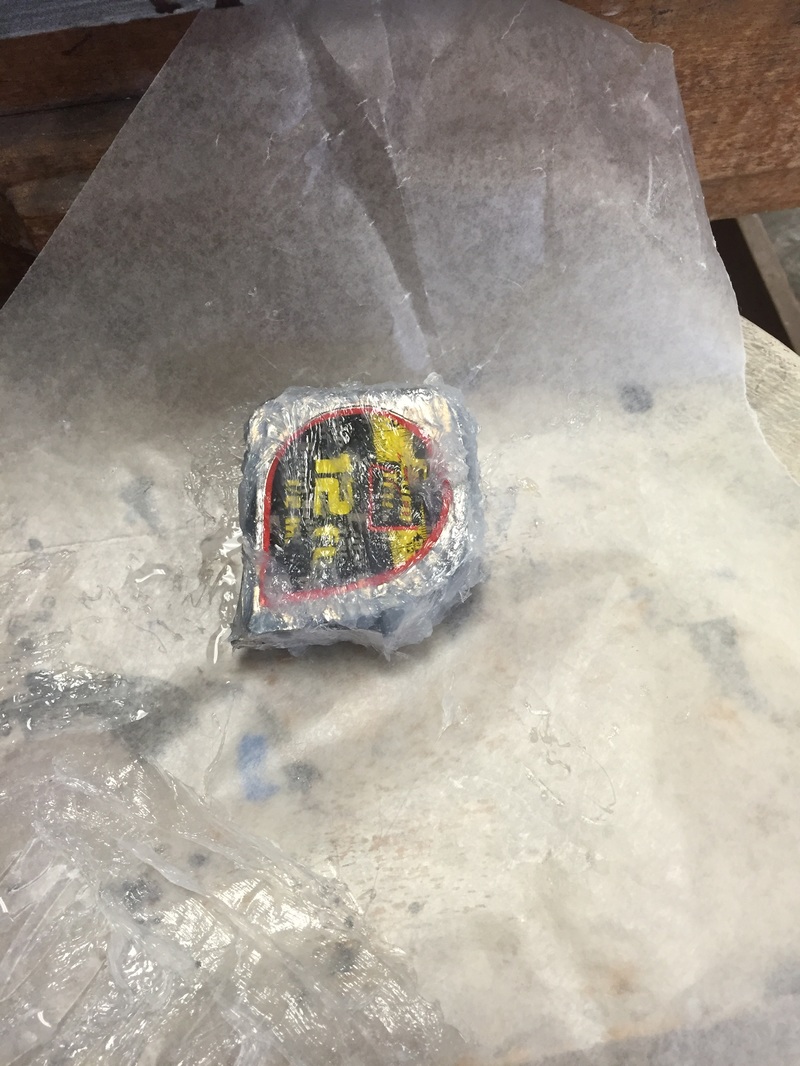
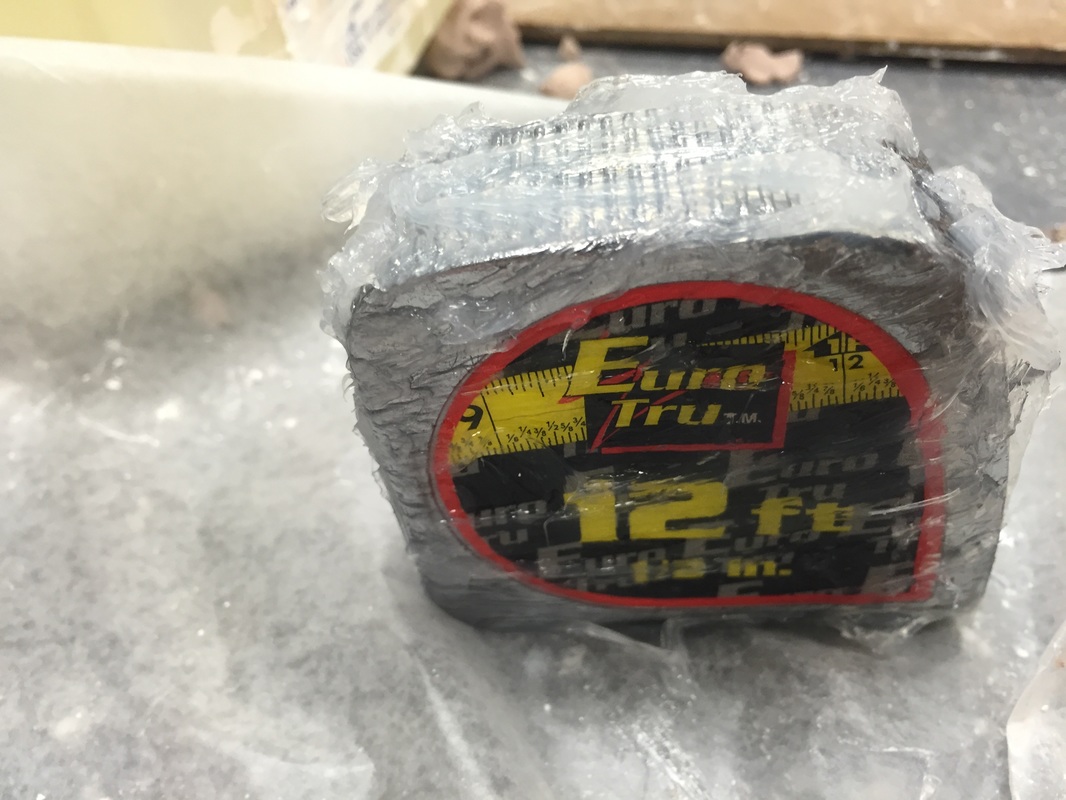
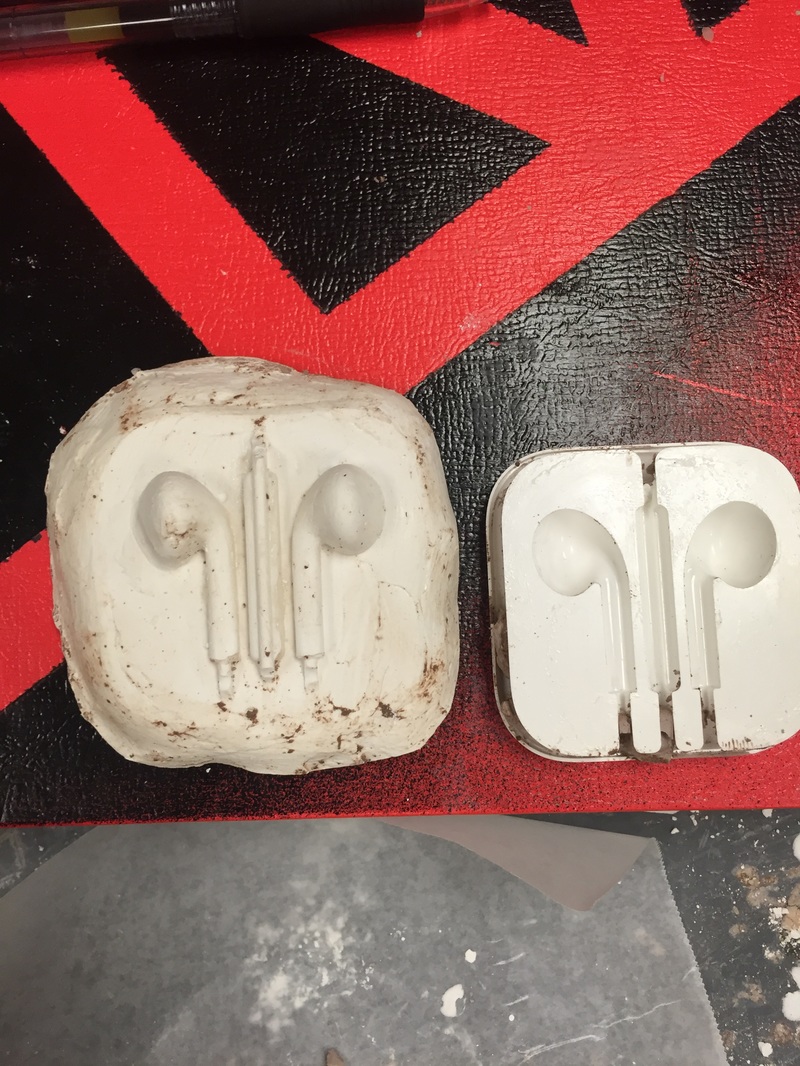
The first row of images are of the poor mans mold. This mold was my favorite due to it’s accuracy and how much easier it was to make. First you had to coat your object (Tape Measure) in lubricant then layer about 5-6 layers of silicone. Next you cut part of the mold and pull out the tape measure. On the opposite side you pour plaster and create a mold of that. Lastly, I cut a whole in the top and poured wax in there.
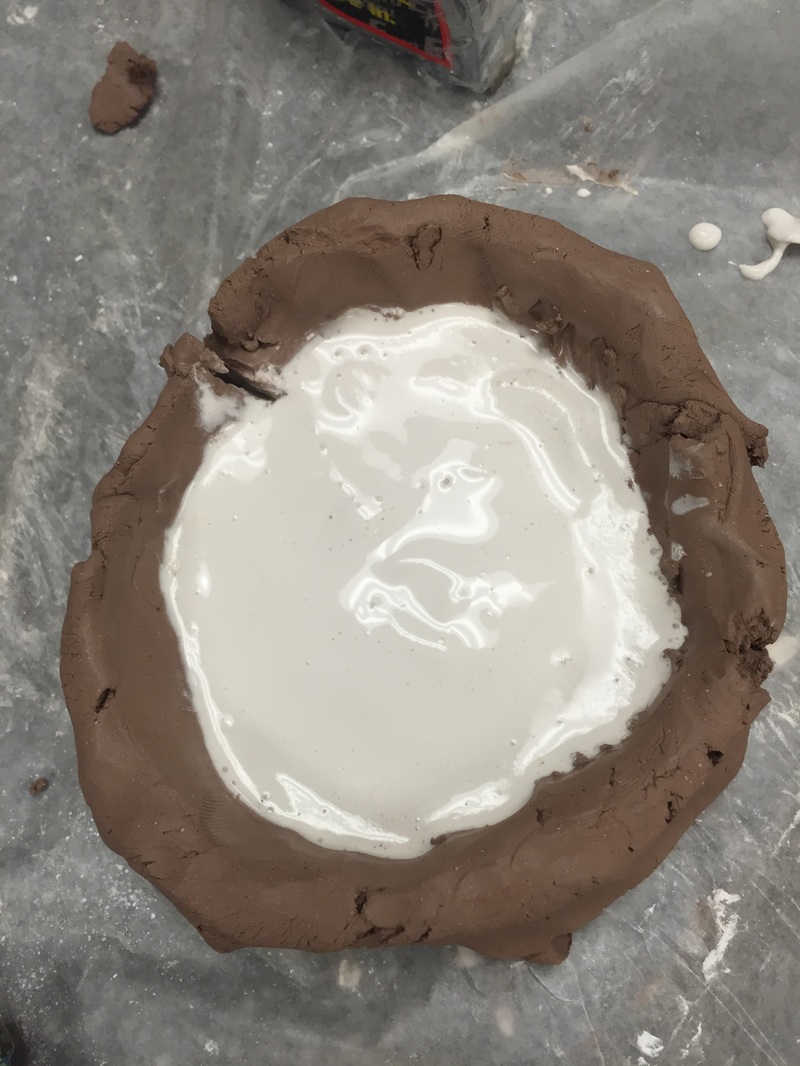
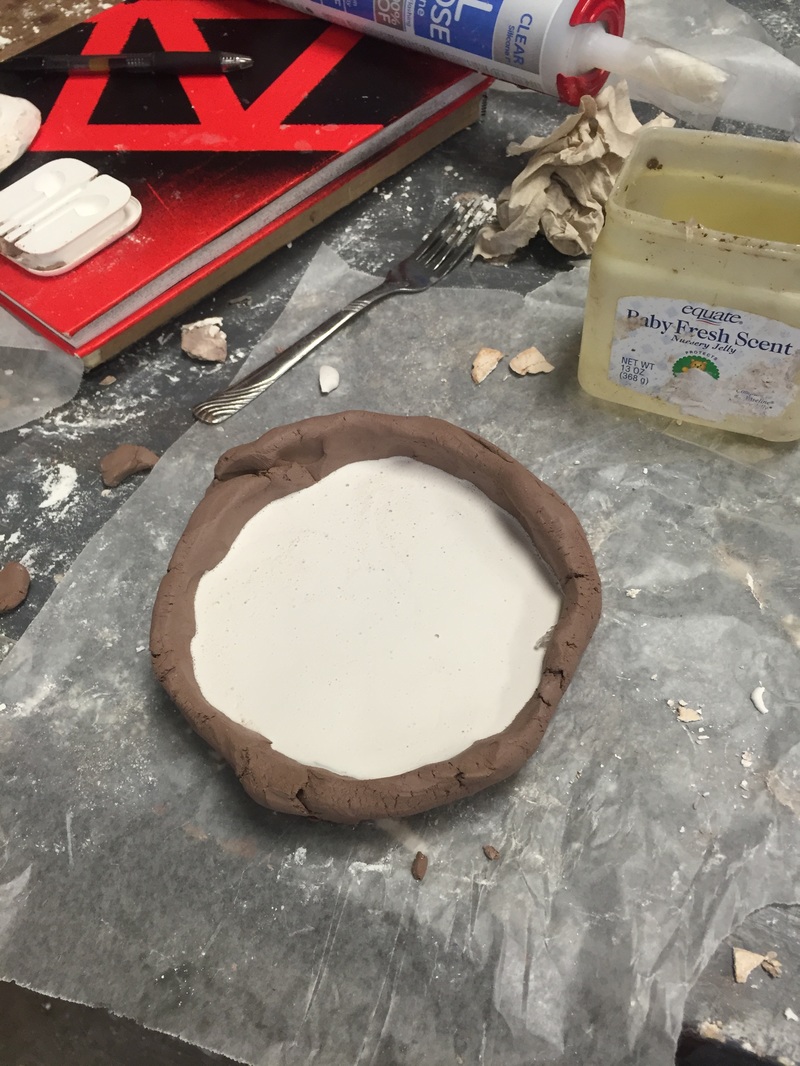
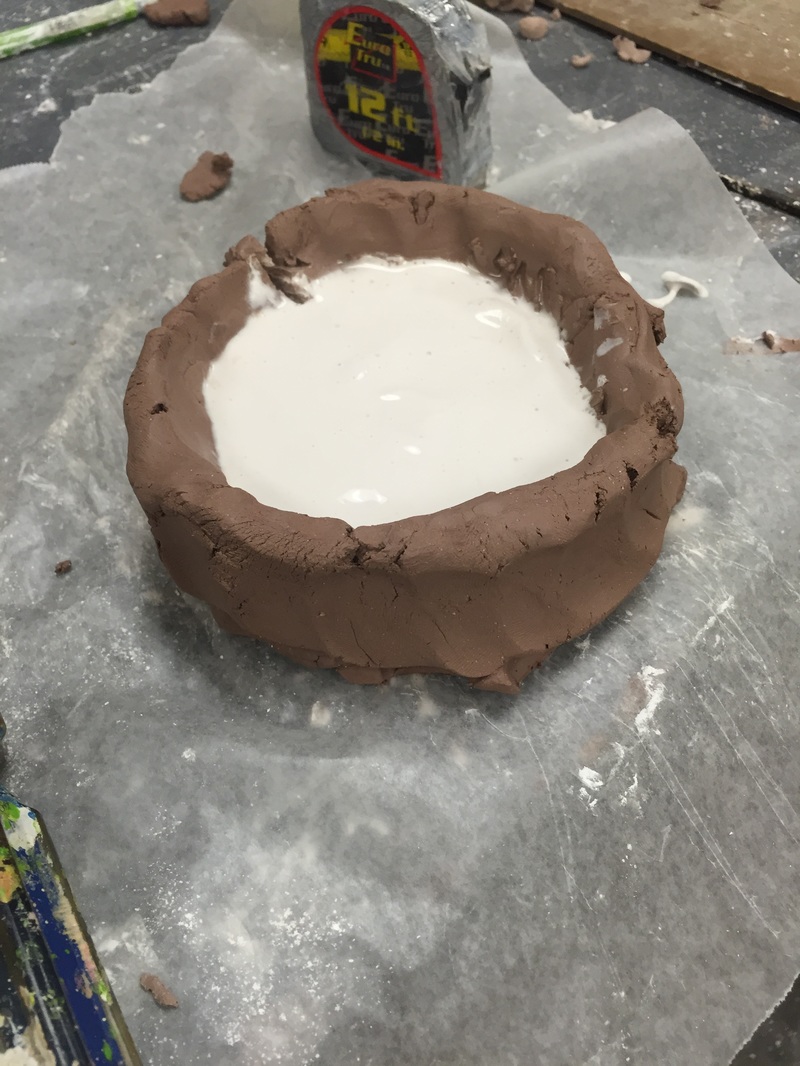
The next mold was the One Pice Mold, this is the bottom mold with the red background. For this mold you created a wall with the object and filled it up with plaster then broke the mold out and filed it with wax
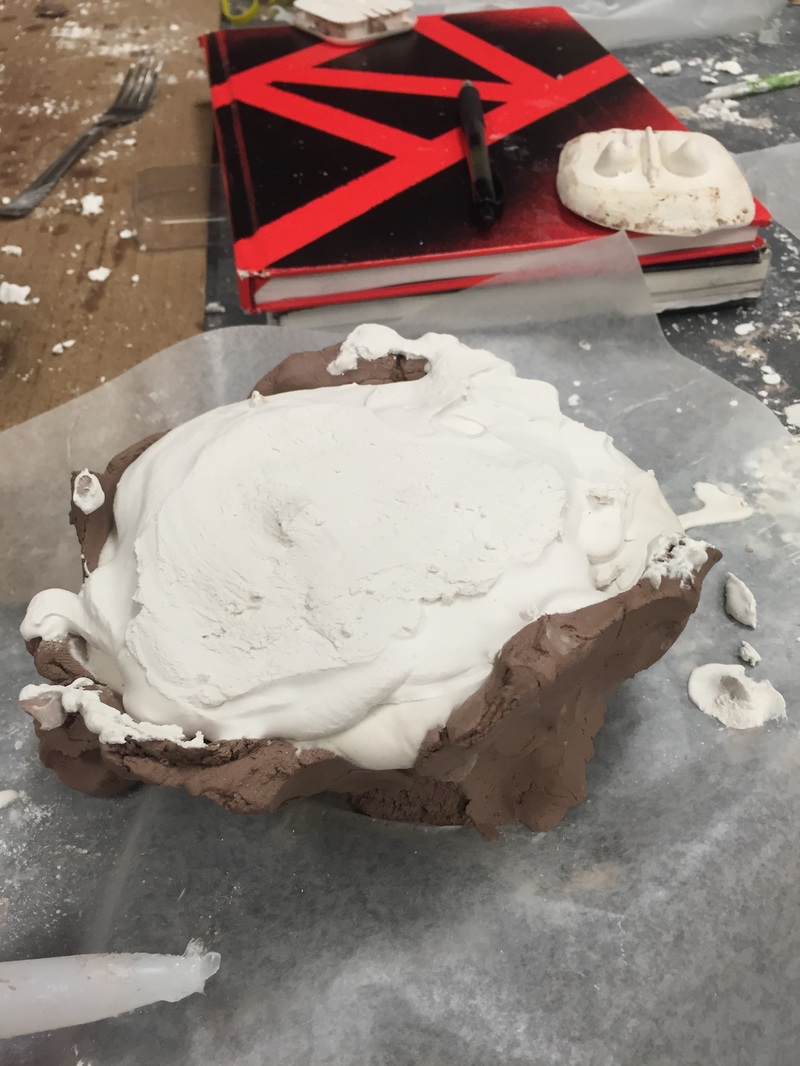
The Third mold is a 2 part mold, this is the same process as the one part but you do it a second time.
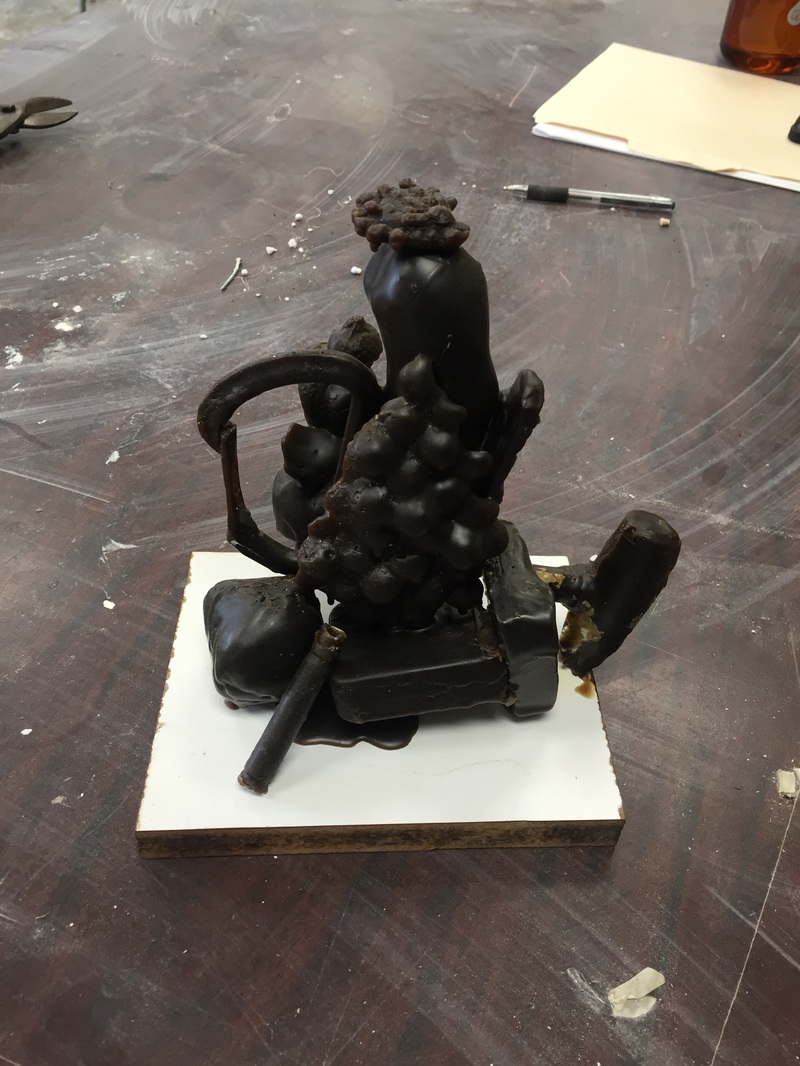
The last image is of all mold’s together, this was very hard to create but showcased everyones work.
The next mold was the One Pice Mold, this is the bottom mold with the red background. For this mold you created a wall with the object and filled it up with plaster then broke the mold out and filed it with wax
The Third mold is a 2 part mold, this is the same process as the one part but you do it a second time.
The last image is of all mold’s together, this was very hard to create but showcased everyones work.
