Progress

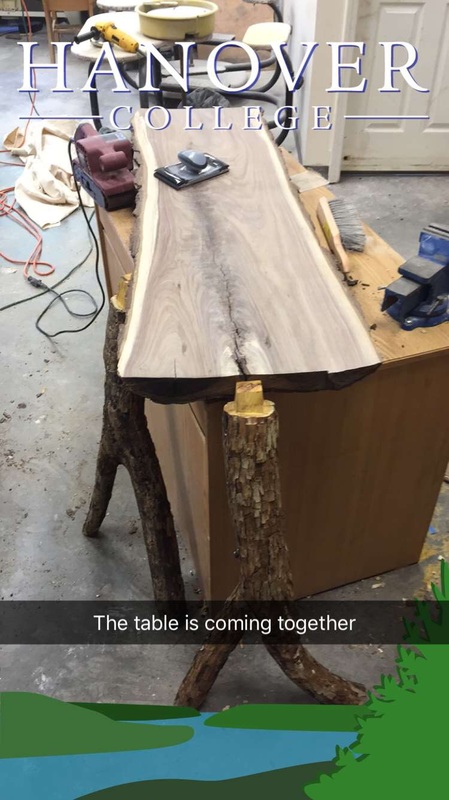
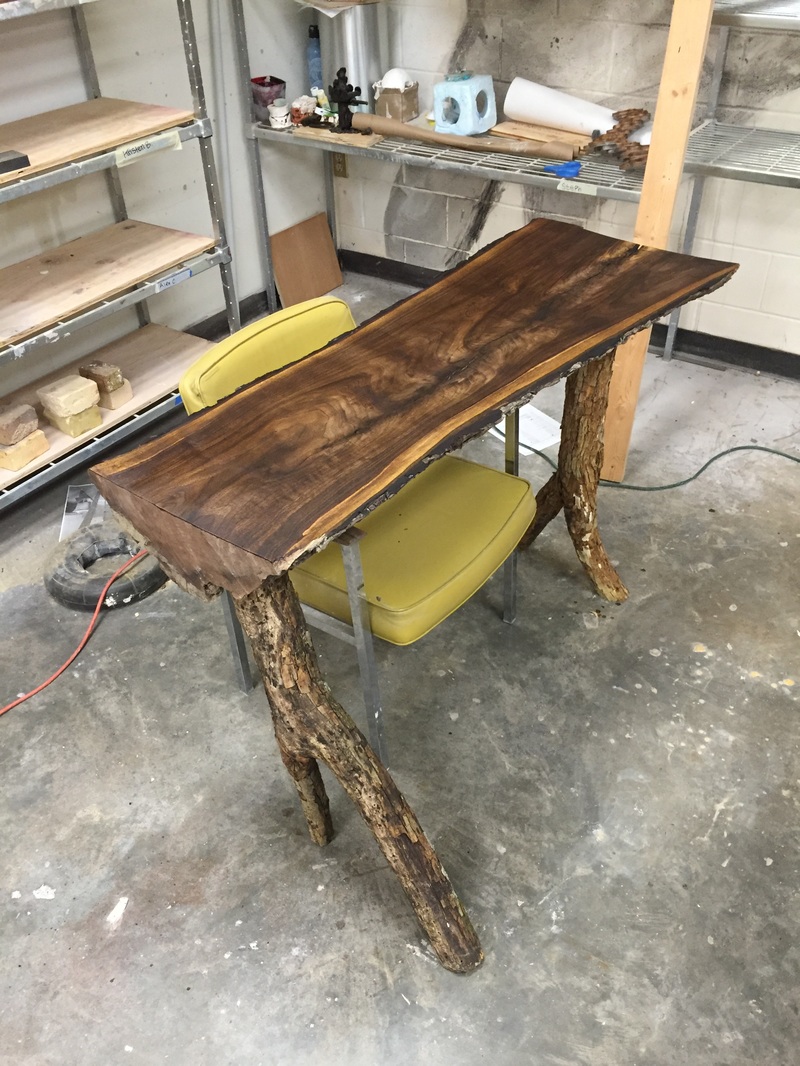
This project has been very tough. In the beginning I decided that I was going to make a table out of raw / natural materials. I am inspired by nature and wanted to bring nature into the work place. This idea questions society norms of what we can use as a day to day material and in our work space. The final desk is made out of a solid walnut top and orange hemlock legs, The table measures 43” X 20” and 40” tall.
In the beginning I wanted to design a desk set, this desk set would help designers keep all of their tools together (markers, pens, rulers, scissors, etc.). During Crit my professor and my class mates pushed me and tried to get me to the next level. That level was building a desk, first I tried to reuse an old desk by altering it. This idea had a lot of bad work that needed to go into it. Due to the fact that I had the wrong materials and the desk would be way too heavy. Then I realized I wanted to make a brand new table all out of logs and keep it as raw as possible.
I Purchased a large pice of walnut with a live edge on the bottom and 2 pieces of orange Hemlock. These would be my final materials, I was nervous to cut into these because I only had one shot and I couldn’t screw it up.
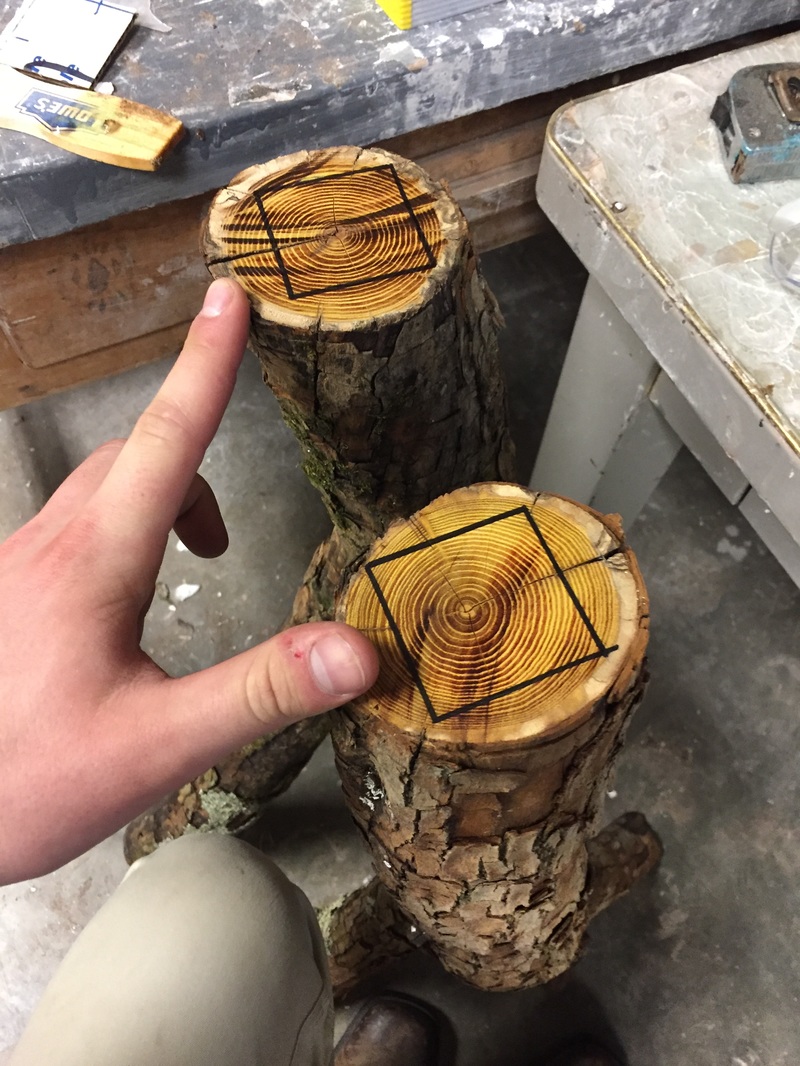
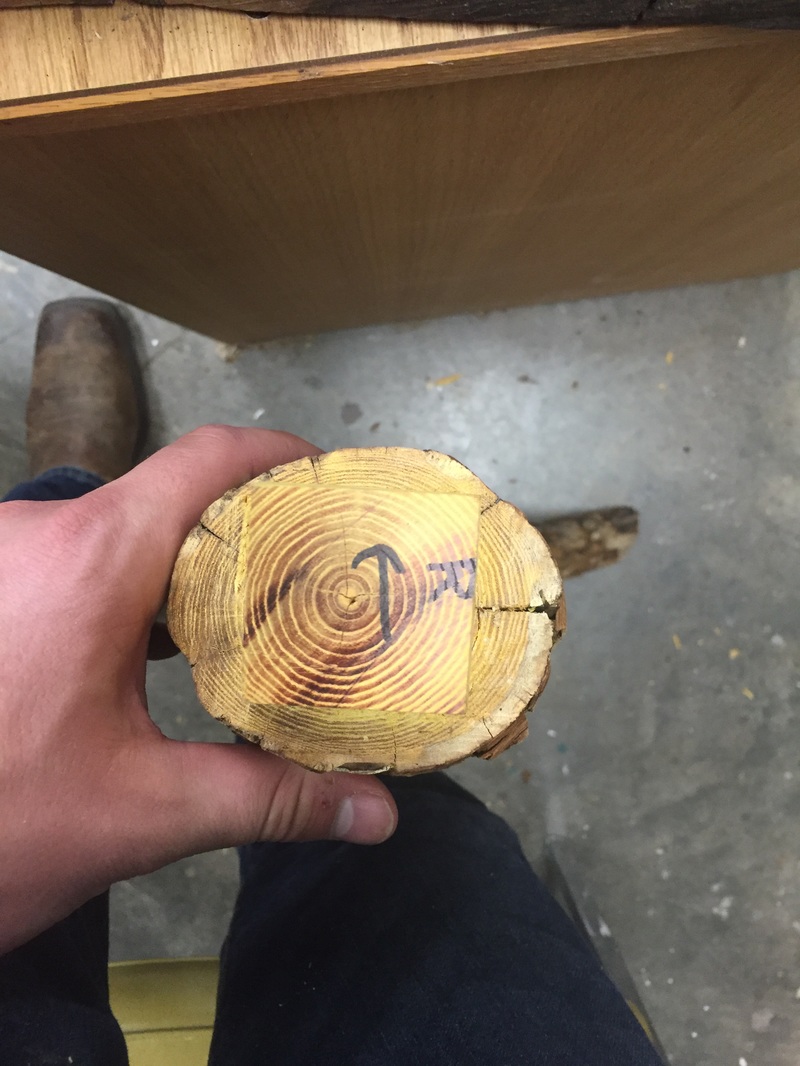
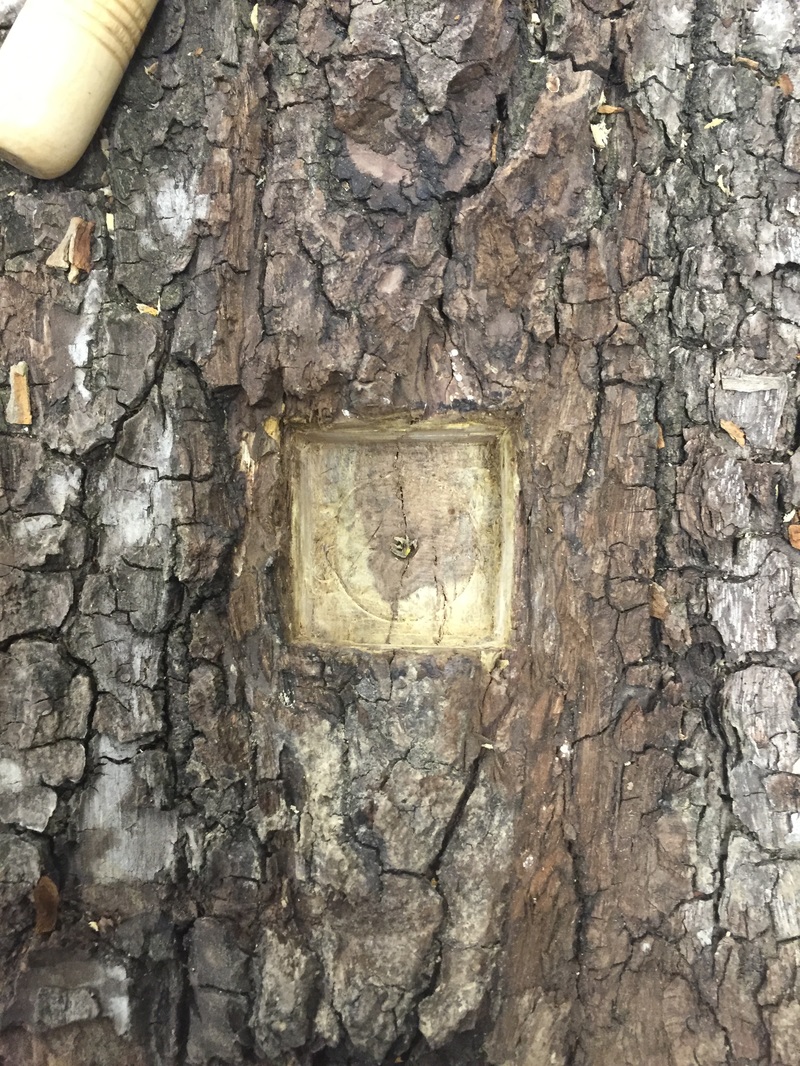
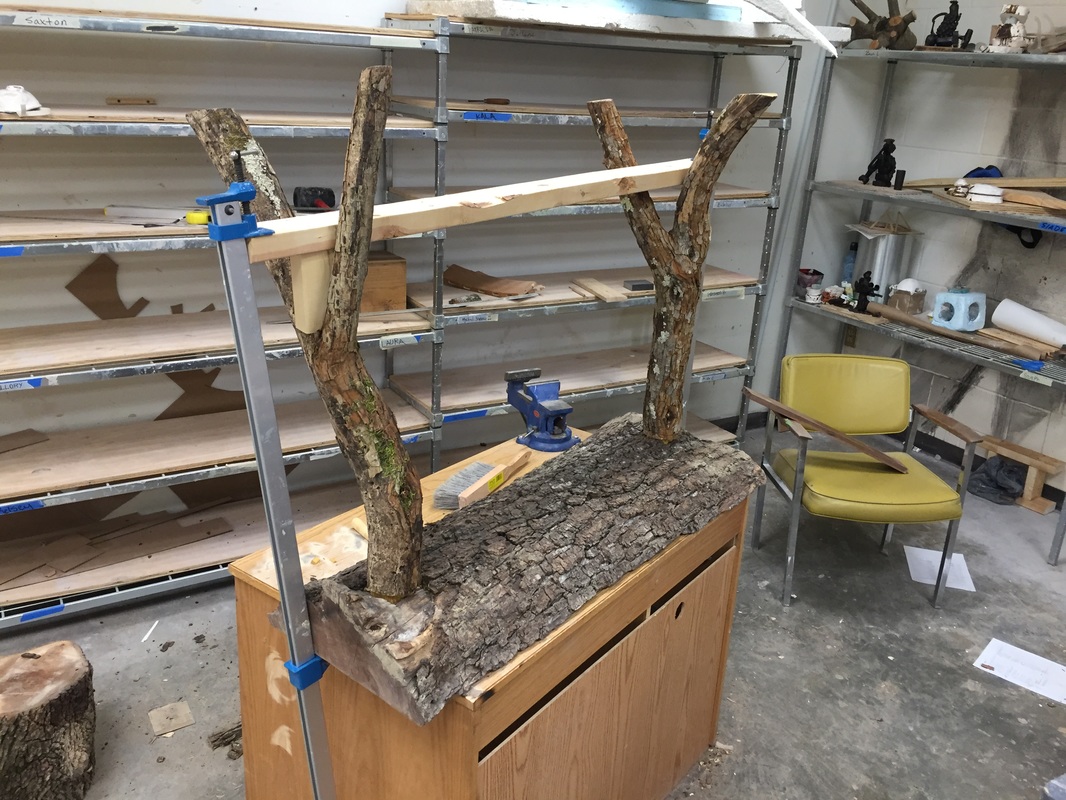
First I brushed off all of the wood then started sanding the top of the walnut, It was very rough at this point and had a lot of flaws (Starting at 40 grit and going to 500 grit). After that I started adding water to the top of the wood so the pours would expand then let it dry and re-sand the wood. Then I sanded flat spots on the Legs so they would be easier to work with. The second thing I did was make a trial of a square joint, I wanted to use a square joint due to the fact that This joint is the proper joint to use in woodworking it is much more old school. To make these I would Draw a square on the top of the hemlock then cut into the side of log. This would make sure that the depth and the length of the tenon was the same size. Then I carved out the rest, I should have used a skin saw but I did not have one on hand at the time. Once they were done I found the center of the table top and found the middle / the spot where I would insert the legs. Then I started cutting out the Square holes, to do this I took and 1.5” Drill bit to start the hole and carved the square out of this. This part was vary hard, I slowly started fitting the legs into the table top. I would fit the leg then carve the legs and then refit the legs. This process took many hours and was completed once the legs fit snug. Next I Created a jig (2nd row last pic) this jig pulled the legs into the table top. Before I did this I filled the square holes up with wood glue to make sure there was a sturdy connection. Then I stared to trim the feet of the legs to make sure the table was level. For this process I started with a skill saw to get a rough cut then moved to the hand belt sander. This process also took a while to complete but was a key point int the process. Lastly I stained the wood to bring out the color and added the extra desk set mentioned in the second paragraph.
In the beginning I wanted to design a desk set, this desk set would help designers keep all of their tools together (markers, pens, rulers, scissors, etc.). During Crit my professor and my class mates pushed me and tried to get me to the next level. That level was building a desk, first I tried to reuse an old desk by altering it. This idea had a lot of bad work that needed to go into it. Due to the fact that I had the wrong materials and the desk would be way too heavy. Then I realized I wanted to make a brand new table all out of logs and keep it as raw as possible.
I Purchased a large pice of walnut with a live edge on the bottom and 2 pieces of orange Hemlock. These would be my final materials, I was nervous to cut into these because I only had one shot and I couldn’t screw it up.
First I brushed off all of the wood then started sanding the top of the walnut, It was very rough at this point and had a lot of flaws (Starting at 40 grit and going to 500 grit). After that I started adding water to the top of the wood so the pours would expand then let it dry and re-sand the wood. Then I sanded flat spots on the Legs so they would be easier to work with. The second thing I did was make a trial of a square joint, I wanted to use a square joint due to the fact that This joint is the proper joint to use in woodworking it is much more old school. To make these I would Draw a square on the top of the hemlock then cut into the side of log. This would make sure that the depth and the length of the tenon was the same size. Then I carved out the rest, I should have used a skin saw but I did not have one on hand at the time. Once they were done I found the center of the table top and found the middle / the spot where I would insert the legs. Then I started cutting out the Square holes, to do this I took and 1.5” Drill bit to start the hole and carved the square out of this. This part was vary hard, I slowly started fitting the legs into the table top. I would fit the leg then carve the legs and then refit the legs. This process took many hours and was completed once the legs fit snug. Next I Created a jig (2nd row last pic) this jig pulled the legs into the table top. Before I did this I filled the square holes up with wood glue to make sure there was a sturdy connection. Then I stared to trim the feet of the legs to make sure the table was level. For this process I started with a skill saw to get a rough cut then moved to the hand belt sander. This process also took a while to complete but was a key point int the process. Lastly I stained the wood to bring out the color and added the extra desk set mentioned in the second paragraph.
